
Best Sketching Tips for Drawing Realistic Portraits, Hey there, friend! I gave it a try too. I am talking about sketching human faces. If you have picked up a pencil and tried to capture a person’s face, you know how tough it is. You can’t just draw lines to create realistic portrait art. It’s about capturing the essence, emotion and subtleties which give that person away. Many novice artists find proportions, shadows, and depth challenging which leads to flat and dull sketches.
This guide is here to help. I want to offer you some practical tips that will help you enhance your sketches, whether you’re a beginner or a pro. By the end of this first part, you will learn the basic techniques of drawing a portrait.
Key Takeaways
-
Know importance of facial proportions for more realistic results.
-
Figure out what the subject is about before you do something.
-
Find out how the right tools and materials impact your sketches.
-
Start using techniques to improve observation accuracy.
-
Recognize the role of light and shadow in creating depth.
Understanding Facial Anatomy
Realistic portraits templates depend on getting a hang of the face first. A face is not just a collection of features; it is a structure with symmetry and nuances that are unique. Before drawing, spend time observing your subject. Look for patterns in the eyes, nose, mouth, and jawline. Notice how these features relate to each other.
The Importance of Proportions
Proportion is the backbone of realistic portrait sketching. A common error made by artists is drawing the eyes too big or placing the mouth too high. Start by understanding basic facial ratios. The eyes generally are halfway down the head, the bottom of the nose is about halfway between the eyes and the chin, and the mouth is roughly one-third down from the nose to the chin.
While these are only guidelines, do keep in mind that no faces are alike. Different individuals have different cheekbones, jaw and eye spacing. What makes the difference between an ordinary sketch and a lifelike drawing is noticing these finer details.
Skull Structure and Muscle Placement
Beneath the skin, the skull gives shape to the face. If we understand the structure, we can make our sketches look more realistic. The brow ridges, jawline, and cheekbones dictate how the light and shadows interact with the face. Muscles develop volume and movement, creating expression and forms.
When you sketch, think of the face in planes. To make it easier to practice, break it into sections: forehead, mid-face and lower face. With this approach you can visualize how light hits different areas and where the shadows would fall naturally.
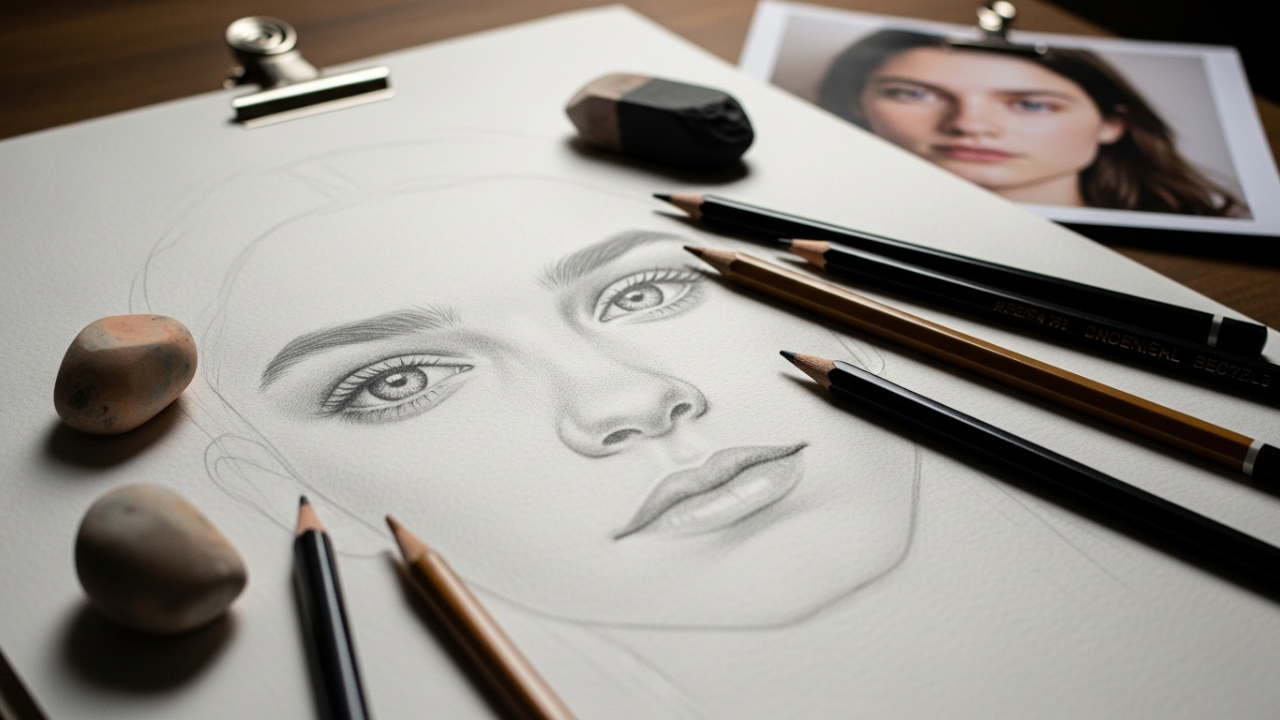
Choosing the Right Tools and Materials
The results you achieve are affected by the materials you select. Choosing the wrong materials makes it hard to shade or gives the wrong effect.
Pencils and Graphite Grades
Different pencils create different effects. Pencils that are hard such as H and 2H give thin lines. Pencils like B or 2B are great for shadows and detailing because they are dark. Mixing pencil grades allows you to create depth. For instance, using an H pencil for the initial outline and a B pencil for the shading will make your portrait come to life.
Paper Types and Texture
Not all paper is created equal. Smooth paper makes for a great drawing surface for fine sketching, whereas textured paper can add some grain or skin effect. Try using both methods to find out what works best for you. Heavyweight sketch paper can be erased repeatedly without damaging the paper surface.
Additional Tools
A blending stump is an essential tool for creating realistic shading. To combine light and dark smoothly, use a blending stump. A kneaded eraser lifts up graphite that is already placed down, allowing you to add highlights. Make sure your pencils stay sharp to control fine details. These tiny tools make a huge difference in creating realism.
Observation Techniques
Observation is a skill every portrait artist must develop. It’s useful to sketch from imagination, but observation of real faces or clear reference will ensure accuracy.
Studying the Subject
Spend time looking at your subject before drawing. Observe the tilt of the jaw, the angle of the nose, or the shape of the eyes. Look at the way the light falls on the face and its shadows. These details give depth and life to your work.
Before you make the final portrait, you might try doing some quick sketches. These little sketches help to understand proportioning and placement without having to commit to anything yet.
Breaking Down the Face
Dividing the face into sections makes it easier to manage. Begin with the eyes, then the nose, mouth and the ears in turns. If you focus on one area at a time, you can catch details better. Take a step back after sketching each feature, and see how they relate.
Using Guidelines
Guidelines can prevent proportion errors. Make light vertical and horizontal marks to find the middle of the face and centre features equally. A subtle grid can also help place elements accurately. Many professional artists do this without showing it in their final illustration.
Shading and Light Techniques
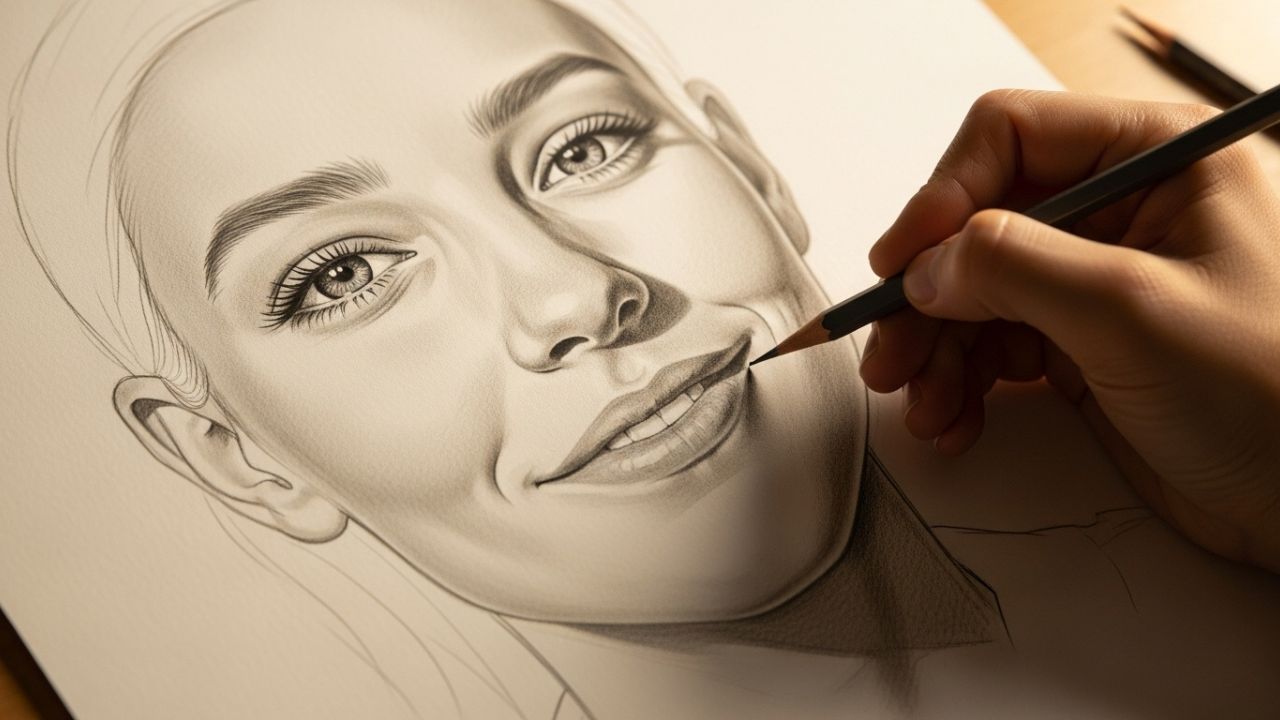
By shading you can give a flat sketch a 3D effect. It shows form, depth, and volume. Proper shading ensures that perfectly proportioned features come to life.
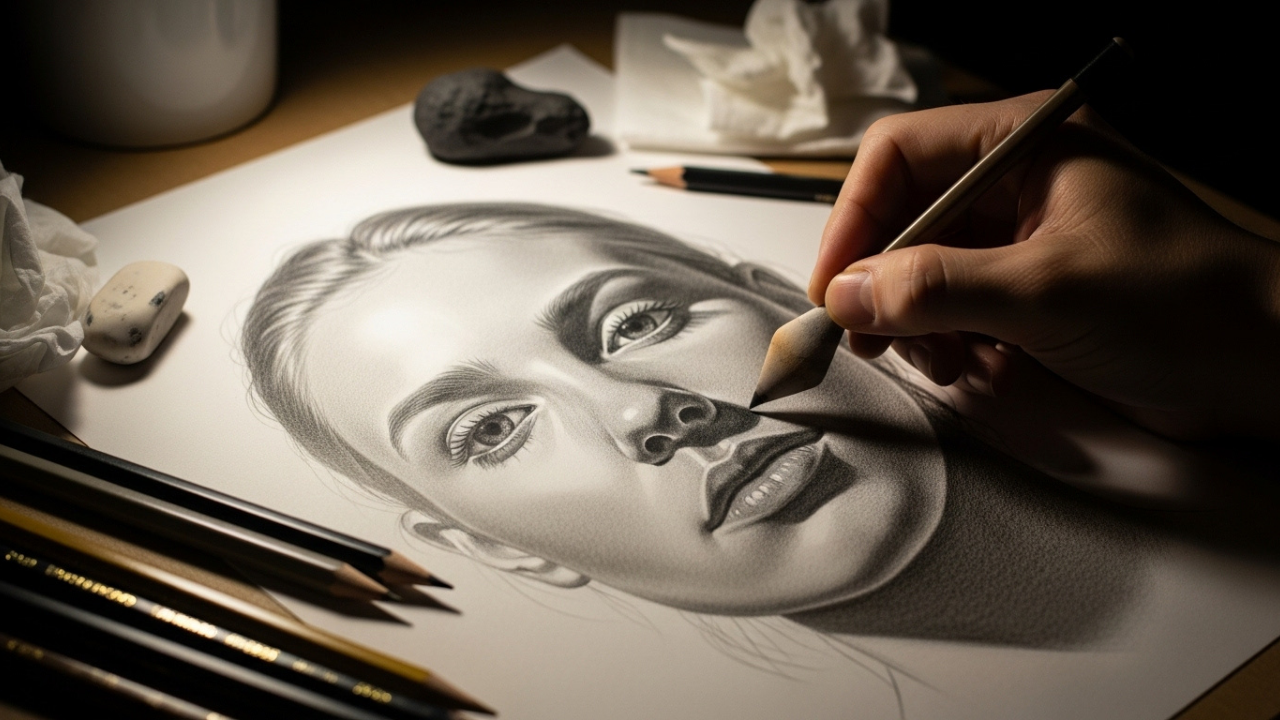
Understanding Light and Shadow
The shadows and highlights in an environment depend on the source of light. Imagine a lamp shining on the subject’s face. The areas near the light will be bright, while places farther away will be dark. Shadows under the nose, the eyes, and the jaw bring a depth to it.
Blending and Layering
Smooth shading requires layering. Start lightly, building tone gradually. By using layering, we can control the gradients and make them blend in well. Blending stumps or a soft tissue can help soften any harsh lines and achieve a skin-like look.
Creating Texture
Texture makes portraits believable. Hair, skin wrinkles, and subtle facial marks add realism. Hair should flow naturally; avoid drawing each strand. Focus on light and shadow when drawing small strands of hair. The smoothness of skin can be hinted with soft gradients as well as careful use of erasers for highlights.
Capturing Likeness and Expression
A realistic portrait doesn’t just get the shapes right. It captures personality. People see their friends and family members not due to their perfect proportions but because of their distinctive features.
Emphasizing Unique Features
When you are looking for a model for your drawing, pick someone with unique features. Make sure any features are clear in the portrait so the subject is identifyable. Apply some emphasis but do not overdo it. It can help.
Conveying Emotion
Expressions change facial lines and shadows. A smile raises your cheeks and changes the shape of your eyes, while frowning deepens the lines between your eyebrows. Studying and replicating these little things creates portraits.
Common Mistakes to Avoid
Even experienced artists face recurring pitfalls. If you are able to learn from the mistakes and rectify them, you can save days and weeks of frustration.
Misplaced Features
Misaligned facial features is one of the most common problems. For instance, if the eyes are drawn too high, the mouth too wide and the nose off-center, the portrait will look off. Keep taking a step back and comparing your sketch to the reference image. Focus on the space between shapes rather than the shapes. Small adjustments early can save major corrections later.
Over-Blending or Under-Shading
Some new artists blend too much and lose texture. Others under-shade, leaving features without dimension. The key is balance. In layers should be shaded gradually, do not lose texture and take care about the light and shadow the object has. Small changes in tone can greatly enhance realism.
Ignoring Light Source Consistency
Consistency in lighting is essential. Changing the direction of the light source midway a drawing can create confusing shadows and it can make the portrait unnatural. Before getting started always choose your main light source and stick to it during the entire process.
Rushing the Process
Patience is often overlooked. It takes time to paint realistic portraits. When we rush, we make mistakes in proportion, shading and likeness. Take breaks, step back often, and allow your eyes to adjust to the sketch.
Practice Routines for Improvement
Practice is the most reliable path to improvement. Yet just practice isn’t enough, but structured routines do.
Daily Sketching Habits
Set aside time each day to sketch faces. Even 20 to 30 minutes can make a difference over time. Begin with fast studies to get the expressions and proportions. By practicing smaller increments of work, the muscle-memory can ramp up your observation to enable you to get faster and still work accurately.
Sketching Using Photos vs Live Model
Both approaches offer unique advantages. Using photographs allows for in-depth study and observation on several occasions an analytical or investigative approach where no moment is passed off. Utilizing live models force you to capture a fleeting moment and subtle movement. Combining both strengthens your skills. For energy and spontaneity, try drawing from a live model after a technical drawing.
Studying Master Portraits
Look at sketches by professional artists. Examine how they use shadows and arrange key features. It’s not about copying and fantasy; it’s about learning methods and making decisions. On the portrait, see the line weight and contrast. Also, focus on the focus.
Self-Evaluation and Feedback
Critique your own work objectively. Take a step back. Compare proportions. Check your shadows and highlights. It helps to show your sketches to other people for advice. Constructive feedback shows you things you miss.
Advanced Shading and Detailing Techniques
Once you have mastered the basics of shading, it is time to upgrade your portraits with advanced techniques which will add realism and expression to them.
Layering for Depth
Building up graphite or pencil creates depth and volume. Use lighter tones to start and darken areas needing shadow. The delicate layering of cream and powder creates a soft transition around the cheeks, under the eyes and along the jawline. Don’t press too hard at first because the softer layers are easier to adjust.
Texture and Fine Details
Realism comes from details. It takes special considerations for hair, lashes, and skin textures. When sketching hair, use clumps instead of drawing out individual strands. Follow the natural flow and direction of the hair. For skin, you want to shade very gently and eraser small highlights to create the illusion of pores or wrinkles. Don’t include too many details which can distract focus, rather you should focus on the eyes, mouth etc.
Highlighting and Contrast
Strategic highlights bring portraits to life. You can create highlights with an eraser or by leaving areas of the paper blank. For example, you could shower the tip of the nose, forehead or tear ducts. The difference between the light and shadow helps define the structure while emphasising depth.
Capturing Personality and Emotion
A flawless portrait or photo will feel lifeless if it doesn’t have personality.
Expressive Eyes
People often say that the eyes are the windows to the soul, for good reason. Slight shading differences or pupil placements as well as light reflection denote emotion. Spend more time on the eyes. A small change to an eye can influence the whole portrait.
Mouth and Subtle Expressions
The mouth often conveys emotion more subtly than the eyes. A small arch can suggest happiness, tension, or neutrality. Take note of how the lips shape with their neighbours and how shadows form around the mouth and chin.
Body Language and Gesture
When one draws a head-and-shoulder portrait, even a slight attitude or angle of the head influences the expression. It can indicate confidence, shyness, or interest. A closer look at these details makes the model more realistic than just anatomy.
Final Tips for Achieving Realism
It takes a skill, patience, and observing to create realistic drawings. Remember this advice as you finish your practice. You can return to it later.
-
Patience and Persistence: You don’t make realistic sketches overnight. Every sketch, even imperfect ones, is a step forward.
-
Pay Attention to What You See, Not What You Think You Know: Every face has unique subtleties.
-
Keeping it Simple: Sometimes too much detail can overwhelm the viewer. Make highlighting key features while leaving the rest soft.
-
Frequent Sessions Work Best: Fewer, shorter sessions are better than one big session. Progress builds gradually.
-
Try Out Different Styles: Although the end goal is realism, trying different line work, shading, and textures teaches new ways to represent features realistically and naturally.
Storytelling Through Portraits
Here’s a little story from my own sketching journey. I spent hours trying to capture my friend’s expression perfectly, but he looked stiff in the sketch. I was only focused on their proportions and their shades, not the spark in their eyes or the subtle smile that made them recognizable. I began observing rather than copying, getting the feel and personality of my own favourite actors. The following sketch was done following the same principles, but now with some emotion behind it.
Working on this project helped me see that realistic portraits are about more than anatomy and technique – it’s about the person and putting that onto the paper. Each sketch becomes a story, a moment frozen in time.
My Opinion
Congratulations, friend! Using what you learned in Part 1 and Part 2, you have a complete roadmap for drawing realistic portraits. We have covered facial anatomy, tool selection, observation techniques, shading techniques, and how to capture personality and emotion in your subject.
Remember, the journey to realism is ongoing. Every sketch that doesn’t work out teaches a lesson in itself. As you keep practicing, keep being patient. Don’t forget to enjoy the process of bringing faces to life. Every portrait is a chance to tell a story and a connection on paper of the subject.

How to package handmade gifts for shipping safely
How to package handmade gifts for shipping safely, Imagine spending hours crafting a delicate handmade gift. You wrap it up, ship it out, and wait

Best Craft Fairs to Sell Handmade Items in the US
Best Craft Fairs to Sell Handmade Items in the US, It would be striking to spend hours making handmade items, only to have no one

SEO Tips for Etsy Listings for Craft Sellers
SEO Tips for Etsy Listings for Craft Sellers, Picture the scene: spending hours creating gorgeous handmade items but not selling ANY on Etsy. Your products

Trending Handmade Products to Sell in 2025
Trending Handmade Products to Sell in 2025, If you spent hours making unique handmade items for sale in 2025, would you struggle to decide which
