

How to Choose the Right Brushes for Watercolor Art, Hello, my watercolor-loving friend! If you’ve ever started painting and felt frustrated because your brush didn’t behave how you expected, you are not alone. It is important to use the right brush for your watercolor artwork; however, most beginners are not quite sure about which brush to choose for their style.
Watercolor is different than other mediums because it uses water, pigment, and brush control. The brush makes a difference regarding the line quality, washes, blending, and feel of your painting. Selecting the wrong brush makes any project difficult and complicated. With a bit of guidance, the best paint brushes for artists can assist you in enhancing your work, saving you time, and adding fun to your painting!
To help you paint with confidence, this article will give you useful information on choosing, using, and caring for watercolor brushes.
Key Takeaways
-
Learn why brush selection matters in watercolor painting.
-
Understand the different types of brushes and their uses.
-
Discover brush sizes and their impact on your work.
-
Identify brush materials and their strengths.
-
Gain beginner-friendly tips to select and test brushes.
Why Choosing the Right Brush Matters
Many beginners underestimate the role of a brush. Painting in watercolours is very different from painting in acrylics or oils. Watercolours rely very much on the flow of water and the control of pigment. Your brush then has a direct influence on that water flow and pigment control.
Impact on Technique and Style
The correct brush allows for a smoother wash, solid lines, and controlled blending. Using a stiff brush for soft gradients will make streaks, but a soft well-shaped brush is able to create a smooth transition easily. Picking the right brush not only improves your technique but also helps your vision.
Beginner Challenges
Beginner painters get confused by the number of brushes. The shapes, sizes, and materials can be confusing. Choosing the wrong brush can leave you frustrated, not getting the results you want, and possibly even give up. Knowing how to choose your brushes is key to avoiding these problems.
Understanding Brush Types for Watercolor
Watercolor brushes come in various shapes that mean different things, making learning about paint easier and enjoyable.
Round Brushes
Round brushes are the most versatile. The fine point of a brush allows for broad strokes and delicate lines. Because they can perform a range of techniques from the smallest detail work to washes, they are ideal for beginners.
Flat Brushes
Flat brushes are perfect to cover a large area evenly and smoothly with a wash. They’re also great for painting straight lines or backgrounds. A flat brush is a must-have for beginners to apply color evenly without streaking.
Filbert Brushes
Filbert brushes have an oval-shaped tip that combines the benefits of round and flat brushes. They work great for soft edges, arcs, and flowers. Filberts are great if you want to create smooth blends and have subtle curves in your work.
Mop and Wash Brushes
These brushes carry a large quantity of water and pigment, making them great for wet-on-wet techniques, clouds, or large backgrounds. Smooth washing and washing without hassle with auto-reloading paint mop brushes saves time.
Detail Brushes (Spotter or Liner)
Tiny brushes work best for fine details, with spotters and liners great for delicate lines and highlights. A beginner may not necessarily need those tools at once, but they are essential when you wish to add a more complicated element, like eyes, a leaf, or even texture.
Brush Sizes and Their Uses
Brush size is another key factor. Stroke width, water retention, and control vary with size.
Small Brushes (Size 0–4)
Ideal for details, fine lines, and precision work. Small brushes are great for painting tiny things or details. New users can use them for floral details or small illustrations.
Medium Brushes (Size 5–8)
Medium brushes can be used to add detail or larger strokes. These are the most popular sizes used for watercolor painting. They work very well on a daily basis. You can easily use them for landscapes and mid-sized illustrations.
Large Brushes (Size 10 and above)
Using large brushes allows one to cover big areas quite fast. This is especially useful for washes like skies, backgrounds, etc. They work well for flowing, more abstract styles of painting where speed and coverage are preferred.
Selecting the proper tool ensures that your brush will enhance your desired technique instead of limiting it.
Brush Materials
Brush materials affect softness, water retention, and durability. There are natural hair, synthetic hair, and mixed hair brushes available in the market. The choice of brush depends largely on your technique and your budget.
Natural Hair Brushes
-
Sable: Soft, springy, and has good water retention. Ideal for smooth washes and detailed work.
-
Squirrel: Very soft and water absorbent, suitable for wet-on-wet use.
-
Hog Bristle: More brittle than sable or squirrel, making it useful for textures and heavier washes.
You might pay more for brushes made with natural hair, but they are better quality and offer better control. Beginners may start with synthetic brushes before investing money in expensive natural brushes.
Synthetic Brushes
Synthetic brushes are affordable, versatile, and durable. That closely imitate natural hair can perform various techniques well. They are easy to clean and maintain, making them great for beginners trying out different styles.
Mixed Hair Brushes
Combining natural and synthetic hair can provide both softness and springiness. If you are a beginner and want versatility in one brush, this is a good option. A mixed brush can be used for different types of techniques like washes and detailed work.
Practical Tips for Selecting Brushes

Tips for Choosing the Right Watercolor Brush
It is easy to choose the right brush with a few tips.
Test Before Buying
Make sure to test your brush with water and pigment before you go ahead and paint. See if the brush holds water, releases paint, and keeps its shape. By sensing the brush in your palm and watching its spring and tip, you can avoid expensive inaccuracies.
Start with a Basic Set
Start with a small set – one round, one flat, and one detail paintbrush. This provides versatility without overwhelming a beginner. As you get better, you can add filberts, mop brushes, or other specialty brushes.
Consider Your Style
Expressive painters work best with large, soft brushes. Detail-oriented painters usually use a small brush with a fine tip. Using the proper brushes for painting makes it easier and more enjoyable.
Budget-Friendly Choices
A good set of brushes is worth the investment; however, synthetic brushes or cheap sets can be used by beginners. Concentrate on learning the mechanisms first; you can upgrade later to match your needs.
Common Beginner Mistakes
Even when guided, novices make similar mistakes:
-
Choosing the wrong brush size or shape: This can make painting more difficult and lessen the quality of your work. Match brush to the intended stroke or technique.
-
Overloading or underloading paint: Practice water-to-paint ratio for smoother washes.
-
Not caring for your brushes: Dirty or damaged brushes will spoil your accuracy and lower their lifespan. Always clean and store brushes properly.
Advanced Techniques Using the Right Brushes
Once you know the basics, you can learn various techniques that improve your watercolor painting. When you use the right brush with the right technique, it makes a big difference.
Layering and Wash Techniques
Layering is a hallmark of watercolor painting. You can use flat or mop brushes to apply washes to backgrounds or large areas. When the first layer dries, start adding details with a round or filbert brush. Through this technique, color transitions will be made on a controlled basis.
When using a wet-on-wet painting technique, like placing paint on a wet surface, it is best to use a mop or soft round brush. These brushes hold water nicely and create smooth areas without streaks. You learn the workings of water control and paint later on.
Fine Details and Highlights
A tiny brush is an invaluable tool for intricate details. Apply them for finer details like leaf veins or facial features. Highlights are essential to create a realistic painting. Use these brushes lightly with little paint for the best results.
Blending and Soft Edges
When you use filbert or soft round brushes, blending soft edges is much easier. Gently stroking a wet or semi-dry area will create a transition between both areas. With gentle pressure and controlled strokes, you can create effective gradients, shadows, and depth.
Textured Effects
Sometimes a painting needs foliage, fur, or rock texture. Use stiffer brushes or specialty brushes to make natural textures. Try different brush angles, dry brush techniques, or even flick a stroke. If you know which brush creates which texture, you can paint more expressively.
Creative Exercises for Brush Mastery
Consistent practice is the key to improvement. Here are exercises that work on brush control, versatility, and style development.
Limited Palette Painting
Pick 3–5 colors and create a composition using only them. Through this exercise, your attention should be concentrated on controlling the brush, blending the colors, and using the technique rather than being overwhelmed with too many choices. It improves your capability of making tranquil artwork with fewer tools.
Speed Sketching
Set a timer for 10–15 minutes per sketch. With your round and flat brush, try doing a small painting in that time. It promotes efficiency, confidence, mastery, and eliminates overthinking.
Style Exploration
Try out various watercolor styles like loose washes, realistic details, and abstract effects. By changing brushes, strokes, and textures, you find out how you like to paint. Over time, you’ll develop a unique artistic style.
Layering Practice
Dedicate a piece to practicing layers. For the background, use washes; for mid-level details, round brushes; for highlights, small brushes. Take a look at how each brush contributes to the overall effect, and you’ll gain an understanding of workflow and brush use.
Workflow Tips for Beginners
Having a structured workflow improves the painting process and results.
Organize Your Brushes
Keep brushes separated by type and size. It helps you save time while painting and ensures you have the right one in hand. For instance, keep round brushes for details together and flat brushes for washes.
Plan Your Painting
Decide which areas need washes, mid-level details, or fine lines. Choose the appropriate brush before starting each section. Planning reduces mistakes and streamlines your process.
Combine Brushes Effectively
At times, using multiple brushes for a project produces better results. For example, begin with a mop brush for the background, a round brush for medium details, and finish with a spotter brush for highlights. By learning how to merge brushes, you can be more efficient and improve the quality of your work.
Brush Care and Maintenance
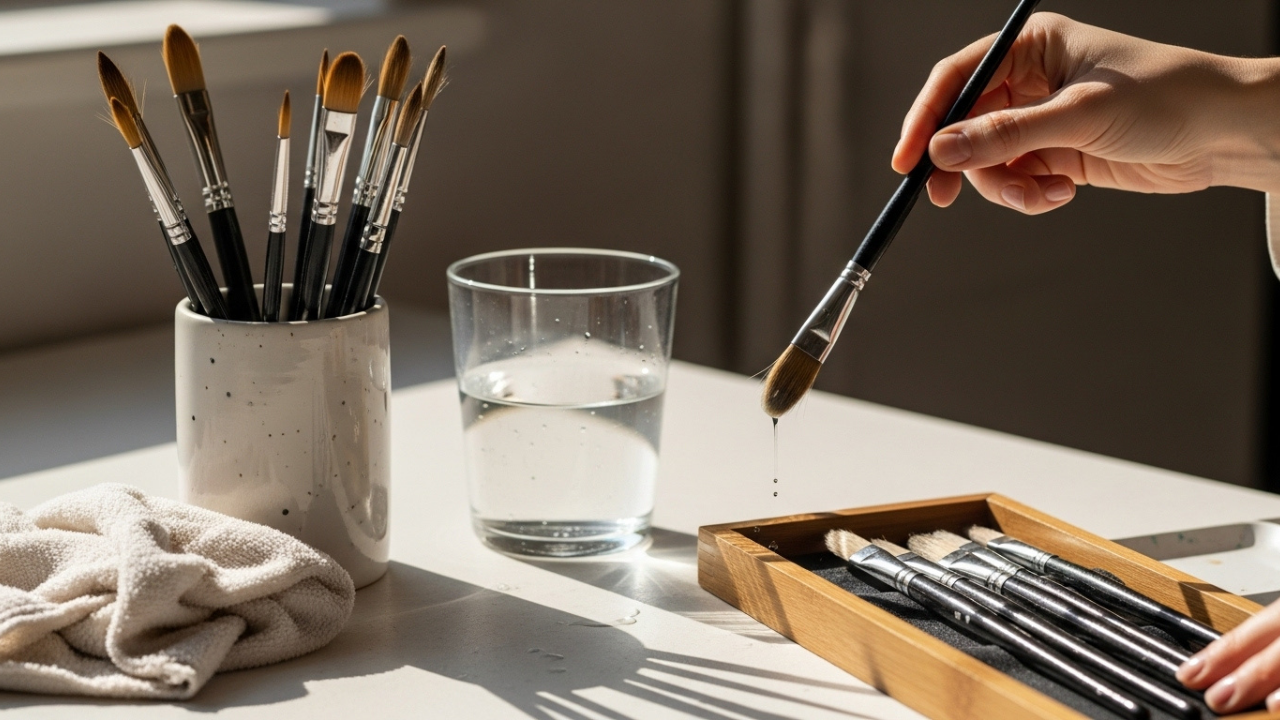
Brush care will help them last longer, perform better, and save you money.
Cleaning Tips
Use clean water to wash the brushes after every use. Don’t scrape or scrub with hard-bristled items.
If paint dries on the bristles, soak them in water and reshape the tip gently.
Storage Tips
Keep paintbrushes upright when storing them, or lay them flat in a case. Do not leave them in water for long as it damages the ferrule and bristles. Store your brushes in a safe and dry place to retain their shape.
Extending Lifespan
Rotate brushes during painting sessions to prevent wear. After you clean your brush, reshape the bristles with your fingers and let the brushes dry naturally. When taken care of well, inexpensive synthetic brushes can last a long time.
Common Mistakes and How to Avoid Them
Even with knowledge, beginners make these common mistakes. Here’s how to overcome them.
Wrong Brush for the Task
Using the wrong size or shape causes frustration. Always select a brush that matches your intended technique. Don’t use a tiny detail brush for a large wash, as this will be slow and ineffective.
Overloading Paint
People new to painting often use too much pigment, resulting in blobs and uncontrolled strokes. Try to use less water to create a gradient and more water for bold colors.
Neglecting Brush Care
Dirty or misshaped brushes limit performance. Clean, dry, and store brushes properly after each use. If you take care of your brush, it will work well and will not need to be replaced as often.
Tips for Choosing Brushes as You Progress
As you gain experience, your needs evolve.
-
Slowly Add to Your Kit: Start with a few brushes and then get ones for textures, filberts, or detail.
-
Choose a Brush That Suits Your Style: Loose expressive painters would choose a softer, bigger brush, while detailed painters use small, precise brushes.
-
Test Different Brands: Brands have different characteristics, so try a few to see what feels comfortable and responsive.
-
Prioritize Quality: Choose brushes that hold their shape, are absorbent, and responsive. Focus on a few key brushes when upgrading.
Conclusion
Choosing the right brush for your watercolor painting is not just a matter of selecting a tool, but a method of gaining control and expression, and enhancing the final outcome. Learn brush types, sizes, materials, and techniques to overcome any project.
Use a few important brushes, practice often, and try other methods. You should use a mixture of brushes for the best layering effect, take care of them well, and upgrade as you learn new skills. The right brushes can not only enhance your artwork but make painting enjoyable and inspiring.
Bear in mind that every expert watercolorist began with a few brushes, curiosity, and practice. If you take your time and experiment, soon you will paint pieces of work to be proud of and find your own unique voice.
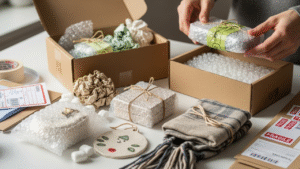
How to package handmade gifts for shipping safely
How to package handmade gifts for shipping safely, Imagine spending hours crafting a delicate handmade gift. You wrap it up, ship it out, and wait
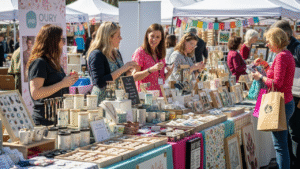
Best Craft Fairs to Sell Handmade Items in the US
Best Craft Fairs to Sell Handmade Items in the US, It would be striking to spend hours making handmade items, only to have no one

SEO Tips for Etsy Listings for Craft Sellers
SEO Tips for Etsy Listings for Craft Sellers, Picture the scene: spending hours creating gorgeous handmade items but not selling ANY on Etsy. Your products

Trending Handmade Products to Sell in 2025
Trending Handmade Products to Sell in 2025, If you spent hours making unique handmade items for sale in 2025, would you struggle to decide which
